Our Kitchen Remodel: Cabinets & Window Treatments
It’s been a while since I wrote about our kitchen remodel. As I mentioned last time, I decided to change the crown molding around the cabinets because my 6” crown was feeling really massive on top of them. Especially with so many different corners and cabinet depths. The angle of the corners was sort of taking over and felt top-heavy.
So…..this meant taking down what had already been installed and waiting for new pieces to be cut and for a can of custom paint to arrive from the manufacturer.
Here’s a pic with the crown off. You can see how many angels there would be by the number of corners .
Did I mention how difficult matching whites can be? Here’s an old blog I wrote called Have You Ever Seen 50 Shades? You might find it useful as I explain a little bit of the science behind color and light in this article.
Back to my story. I waited WEEKS for the paint to arrive and when it did, it seemed to be the wrong color. Ugh.
My cabinet installer is going to experiment with adding a topcoat of lacquer to see if we can get it to match the cabinets. If that doesn’t work, I’ll be heading to the paint store to spend time trying to match the cabinet color.
Mixing custom paint color can be very time consuming. One recommendation I always make is if you can find a color you want on a deck that has an established formula, do that!
Don’t try to custom match whenever possible. There are too many variables in a can of pain like the “color” of the base and the “drops” of pigment that go into it that make it harder to do.
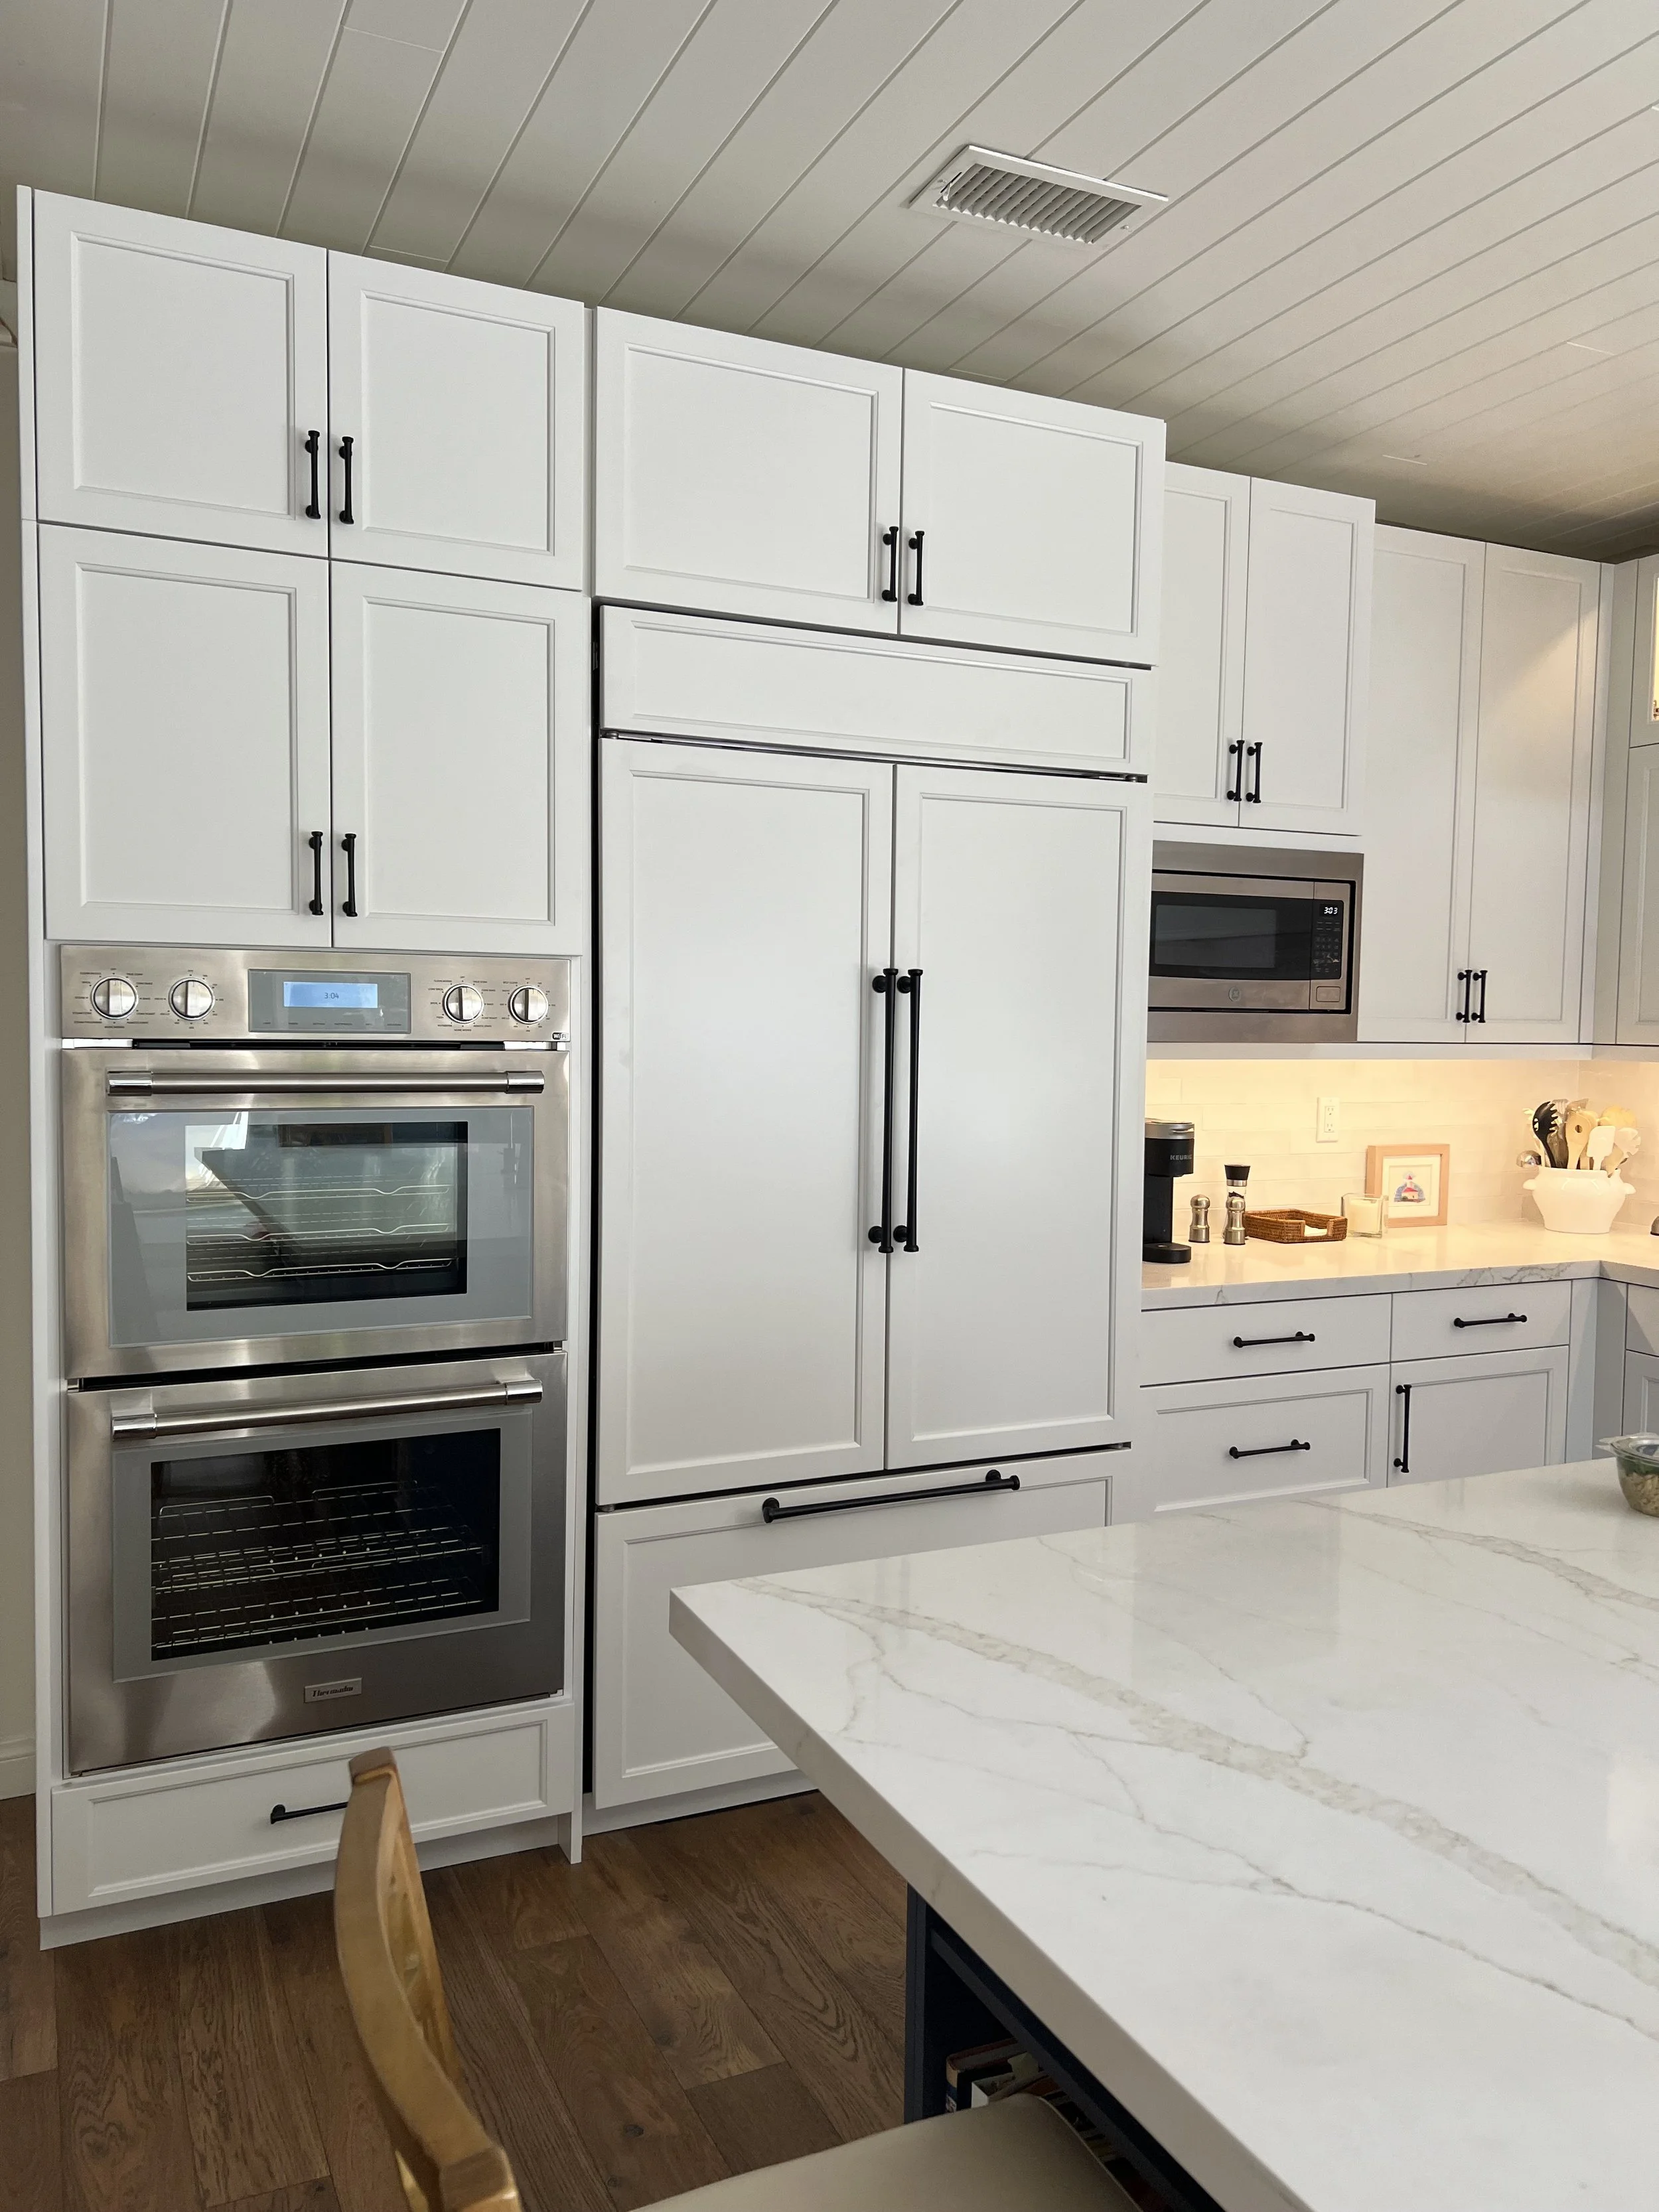
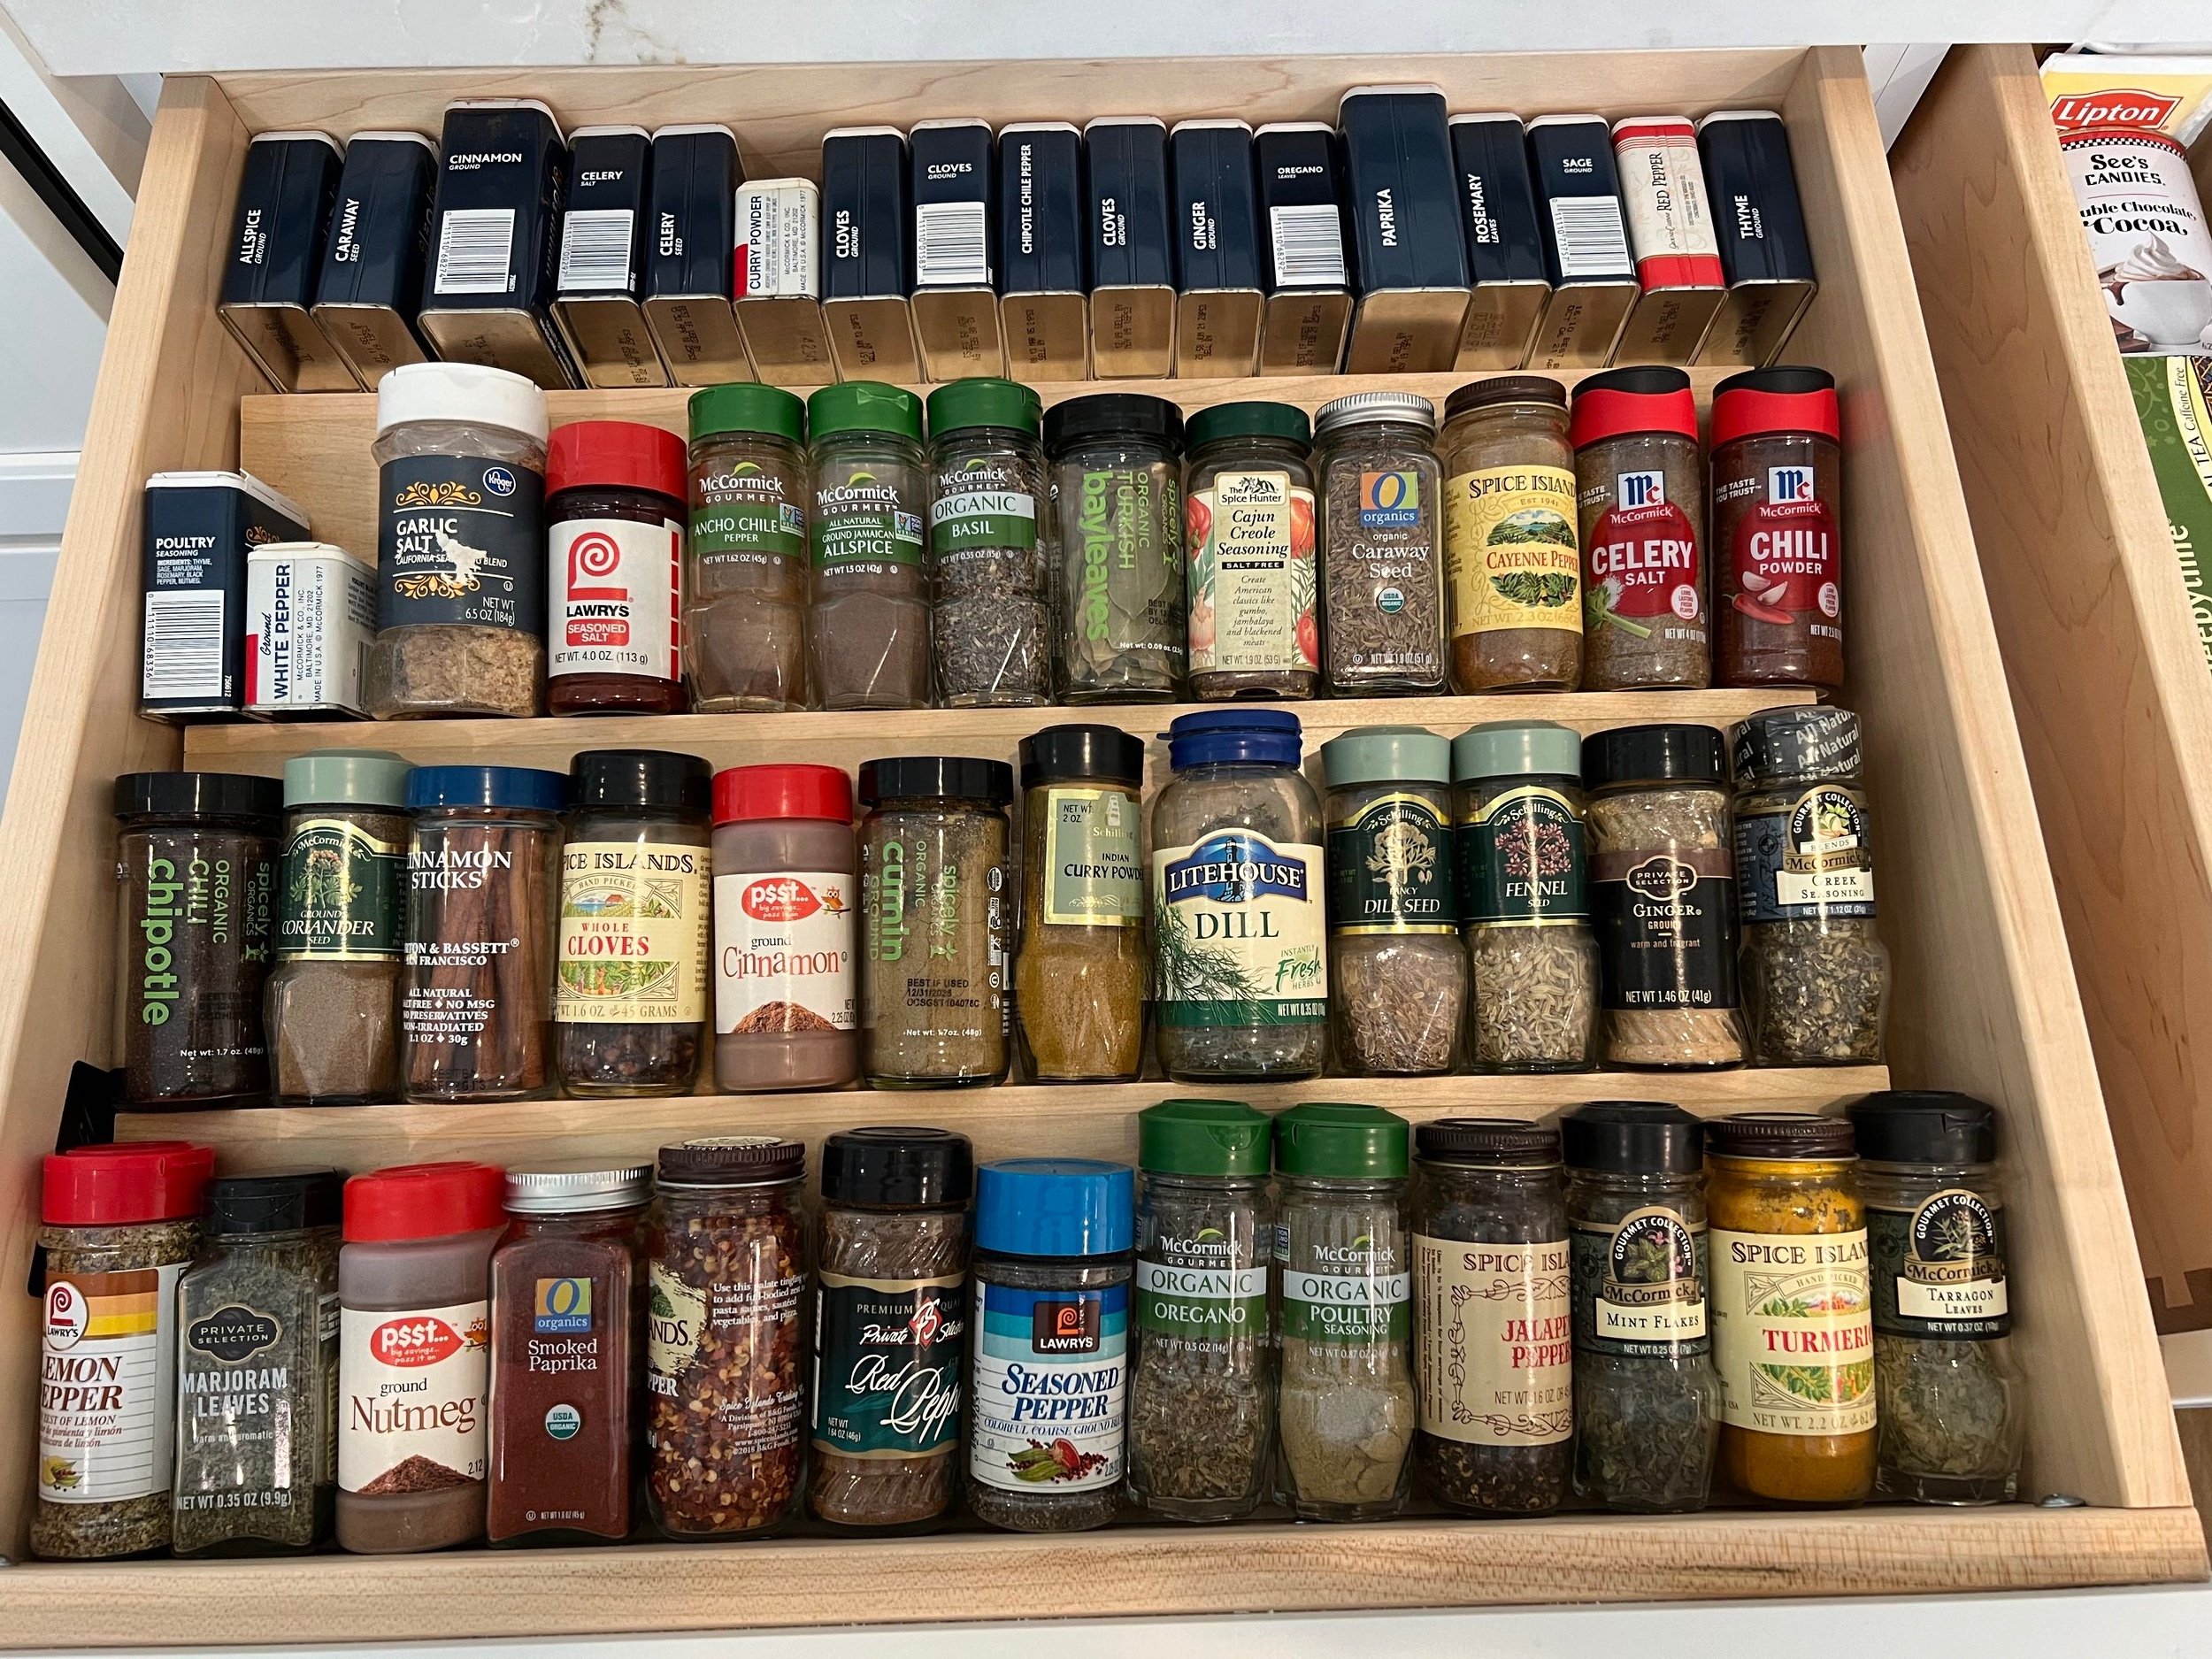
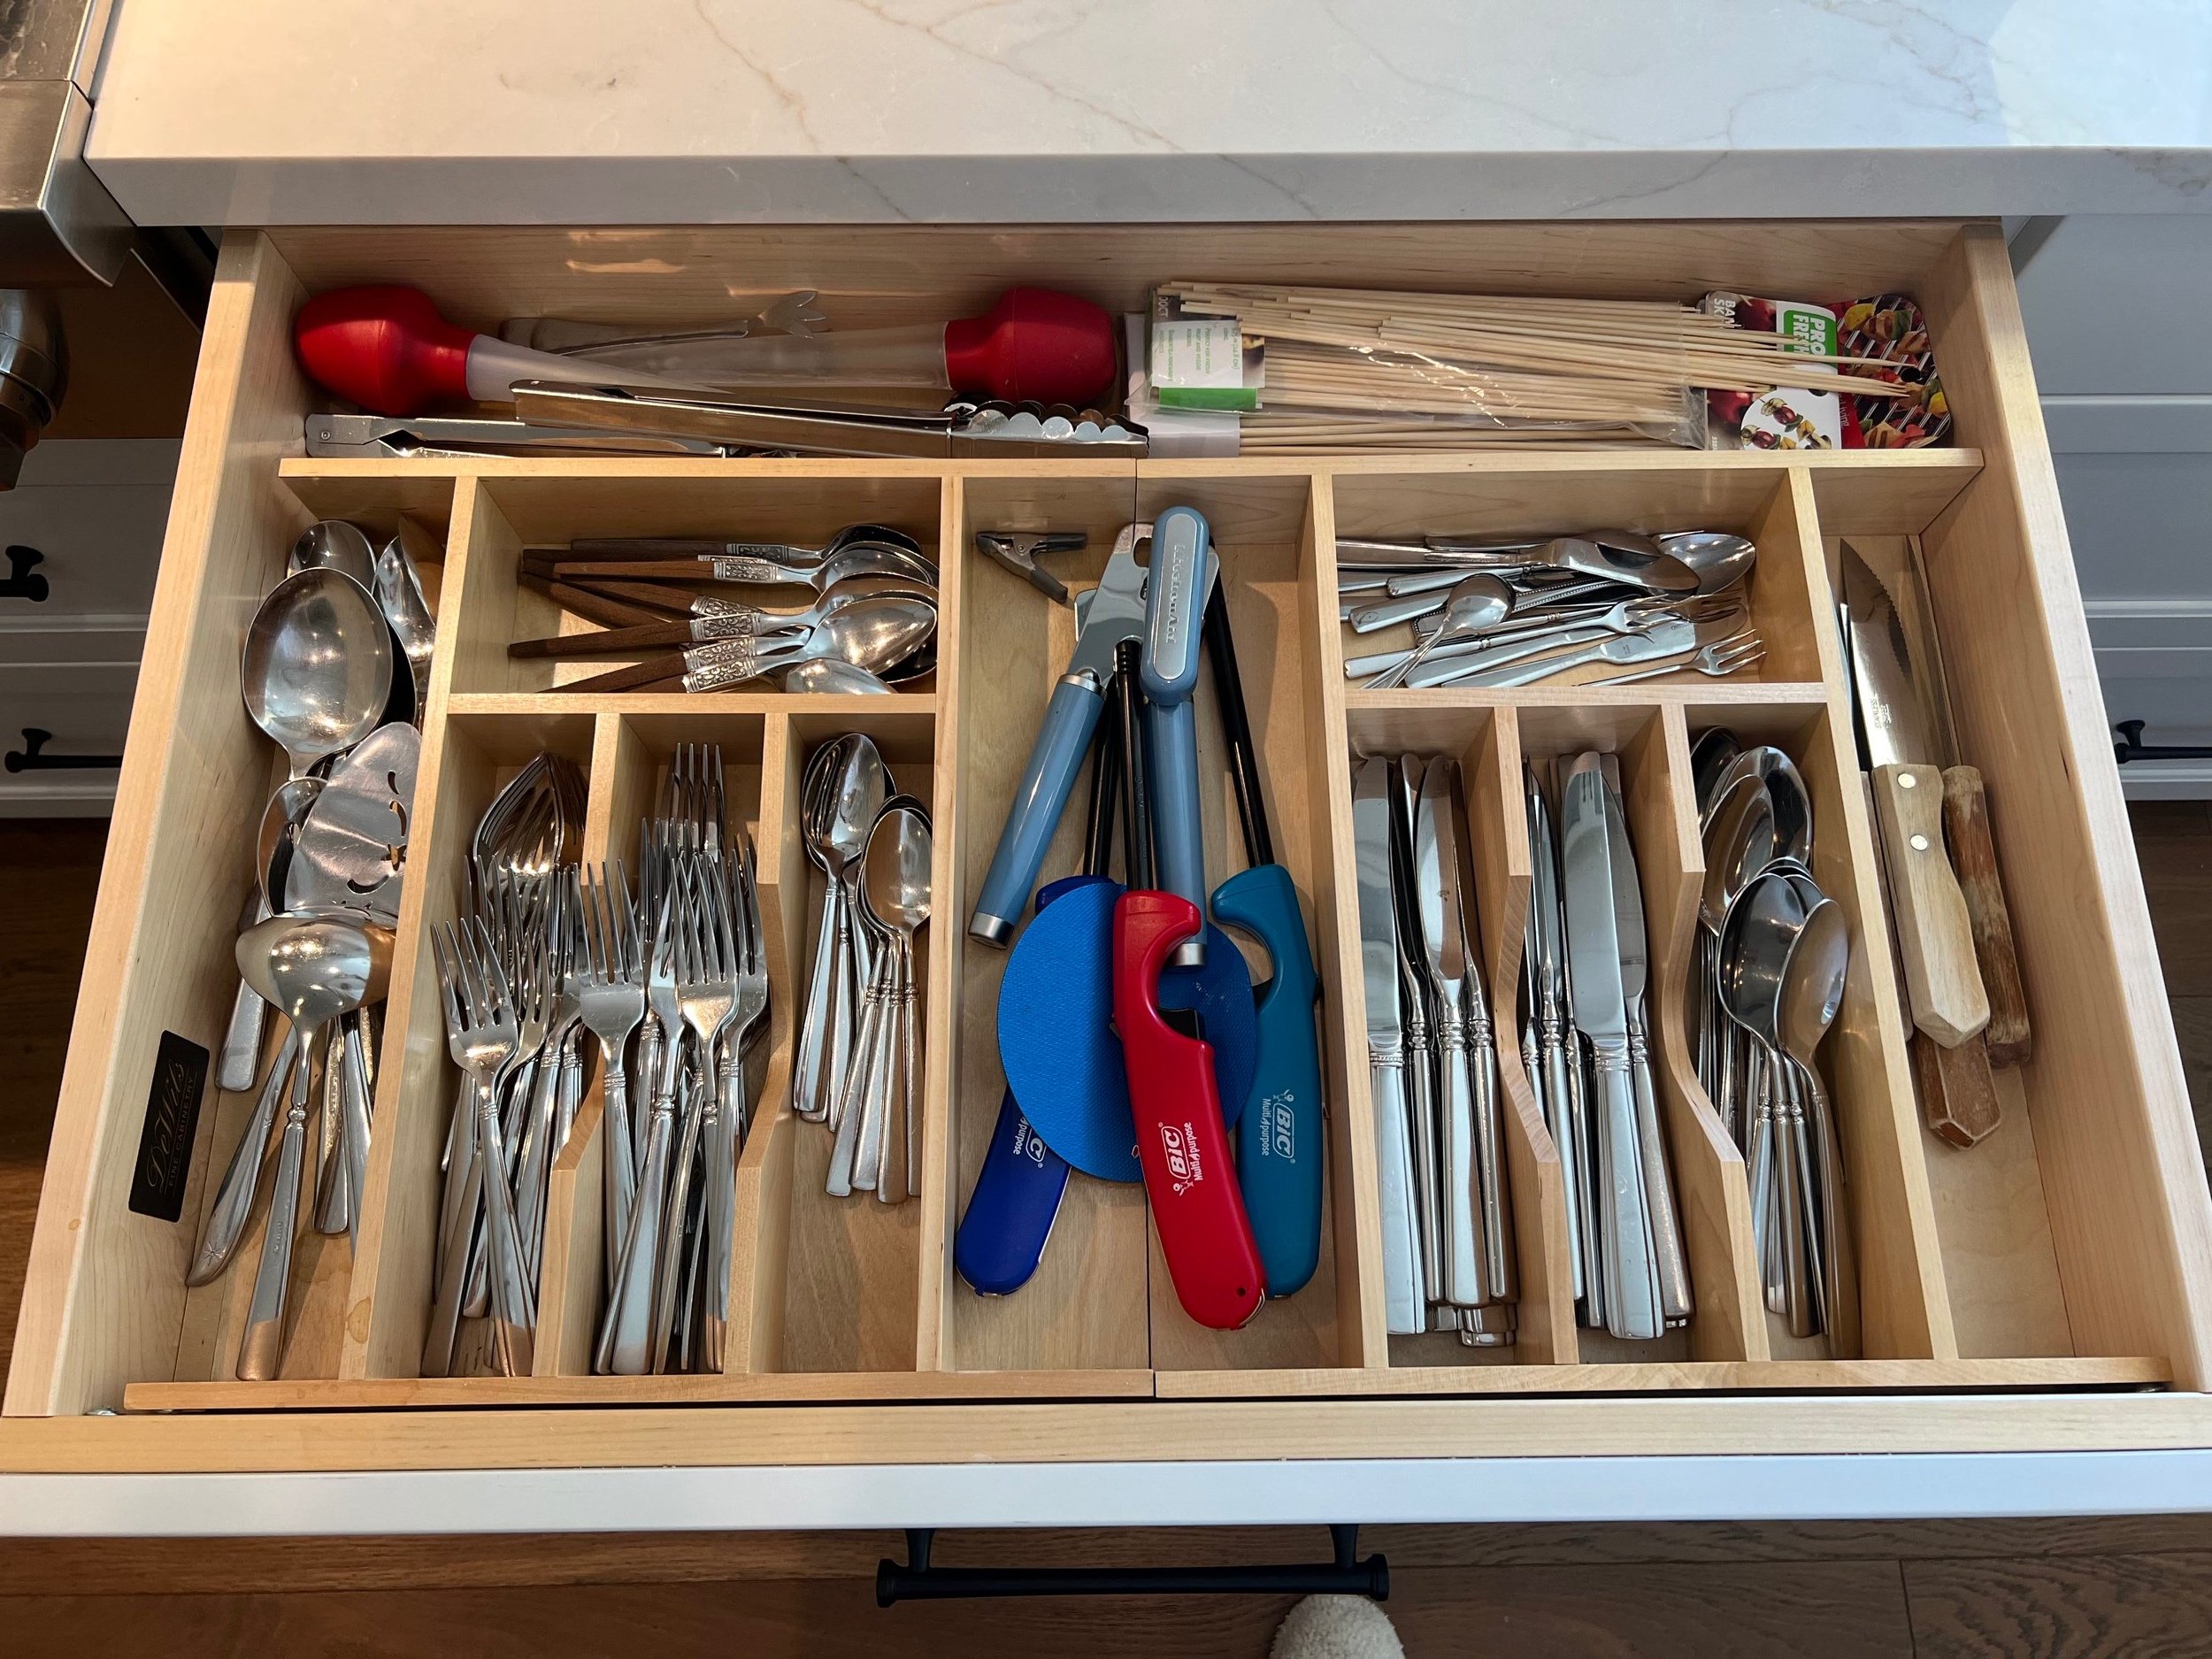
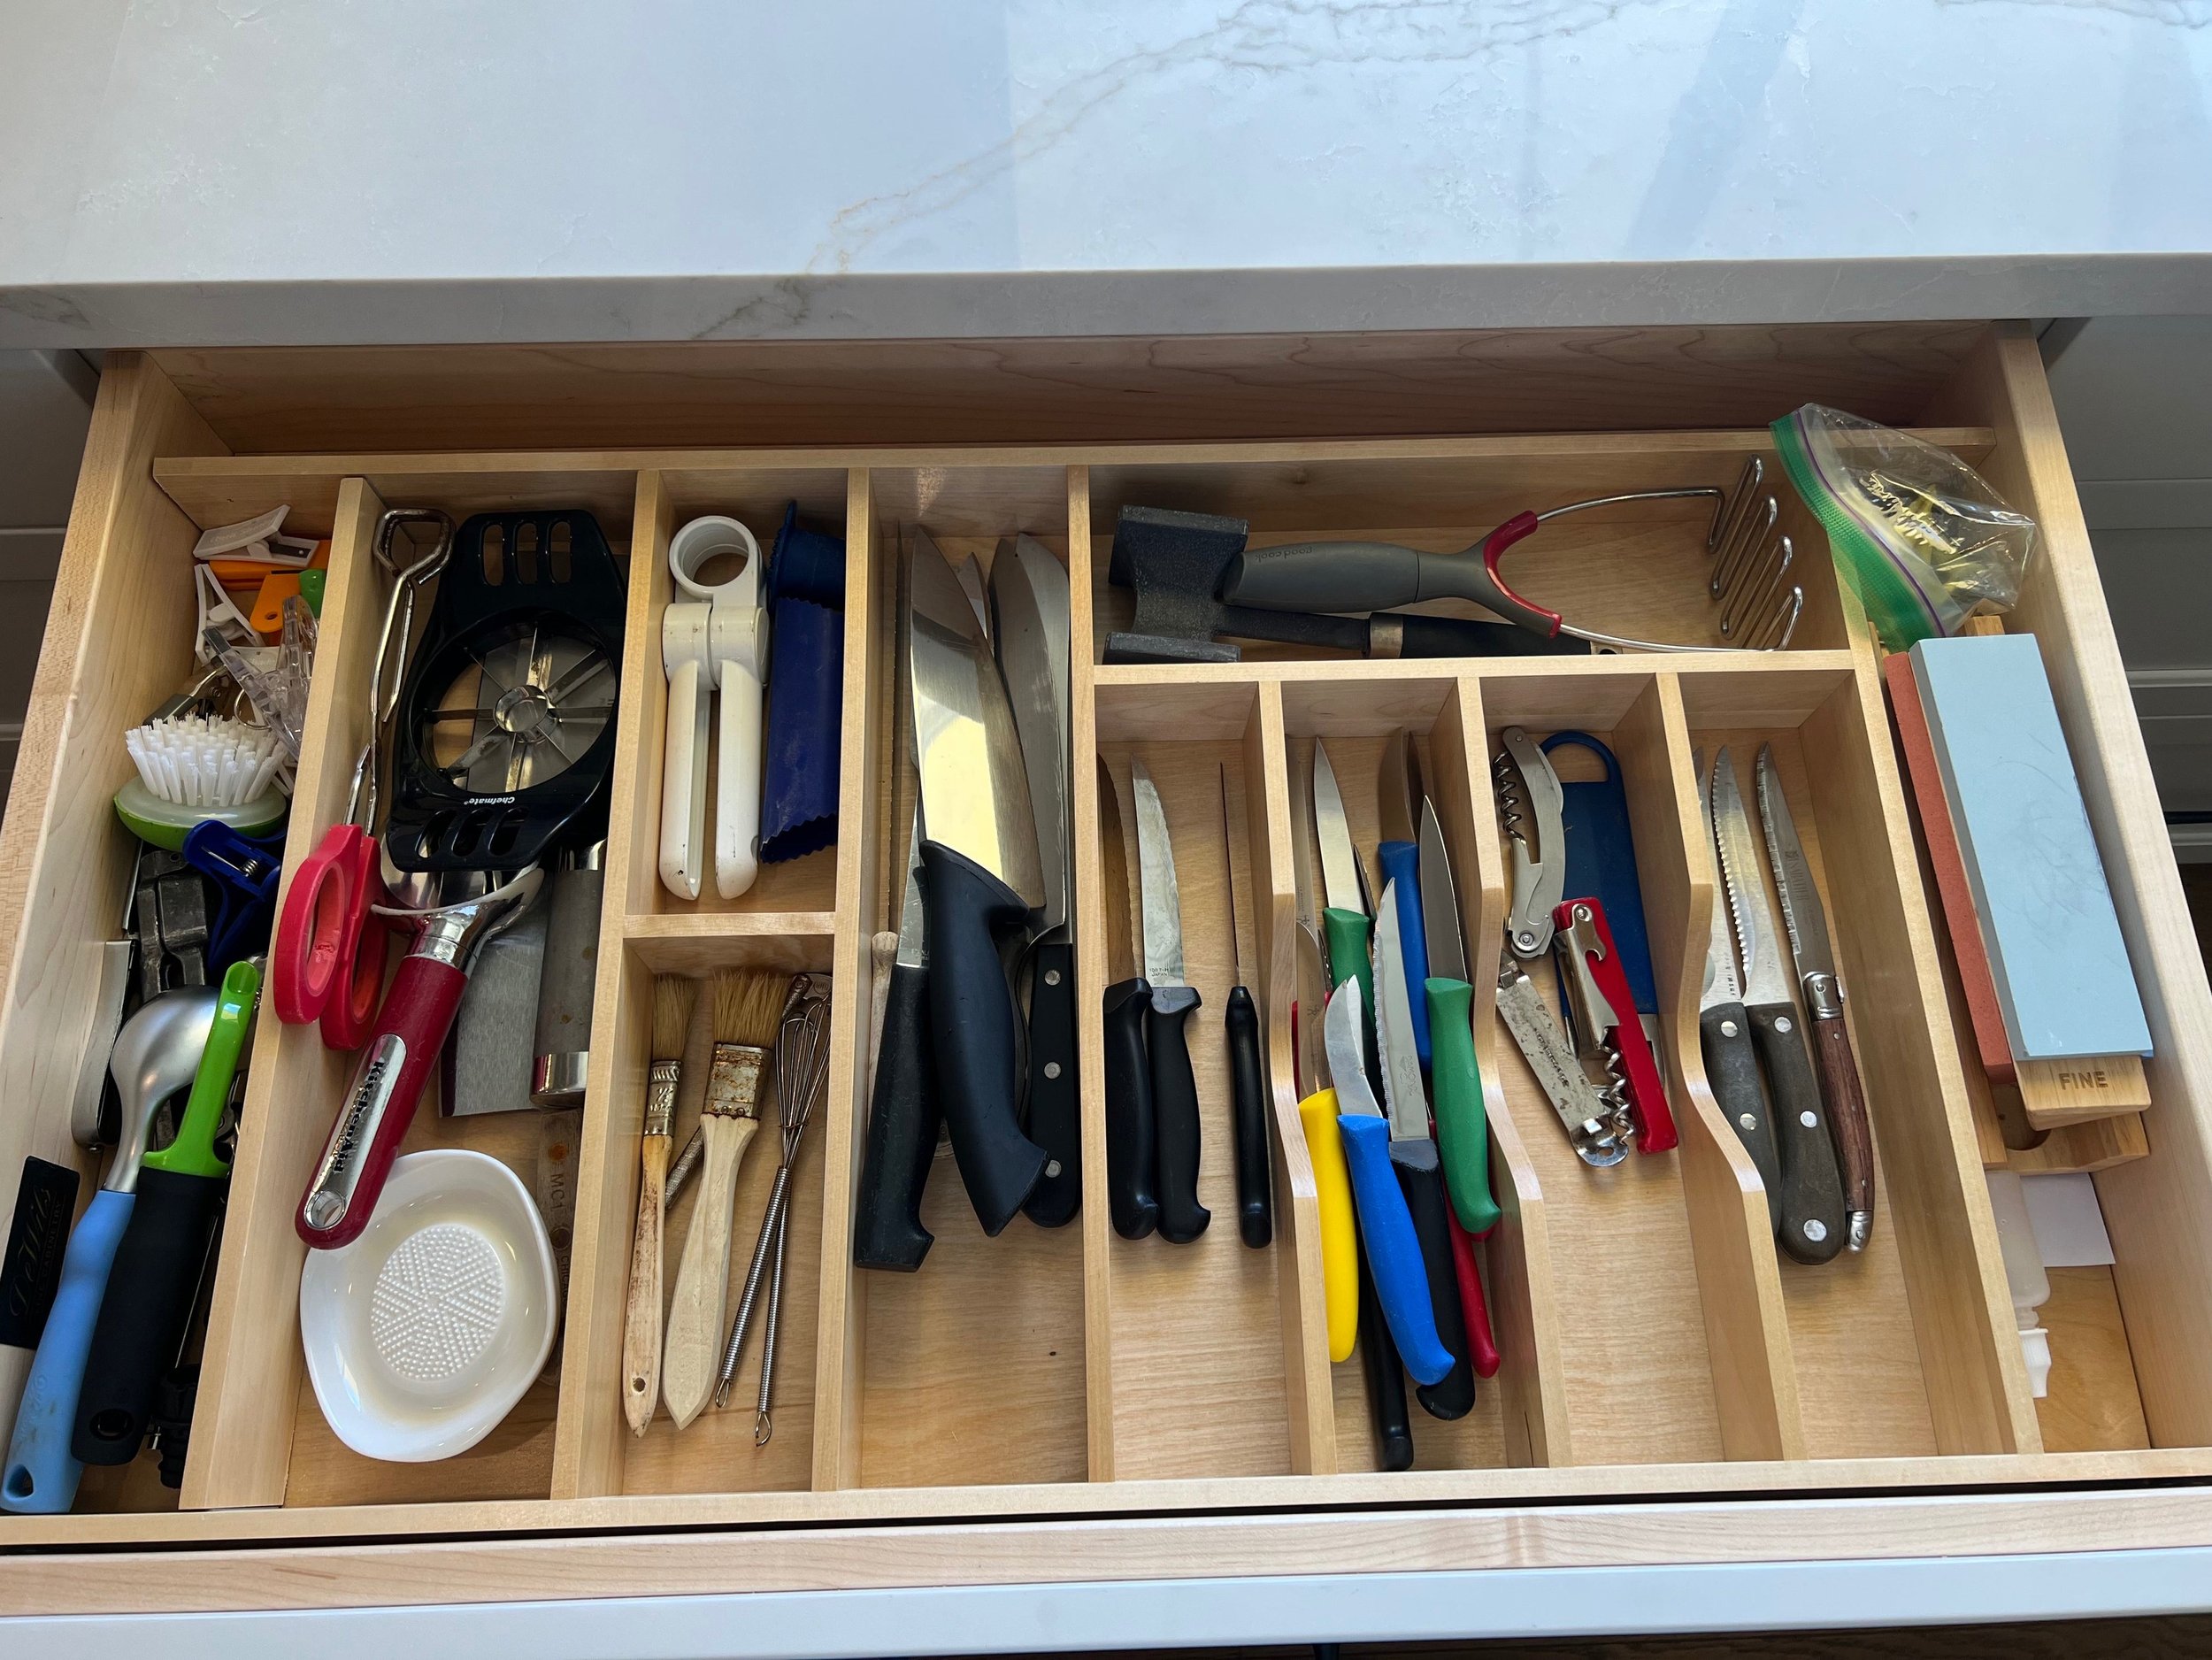
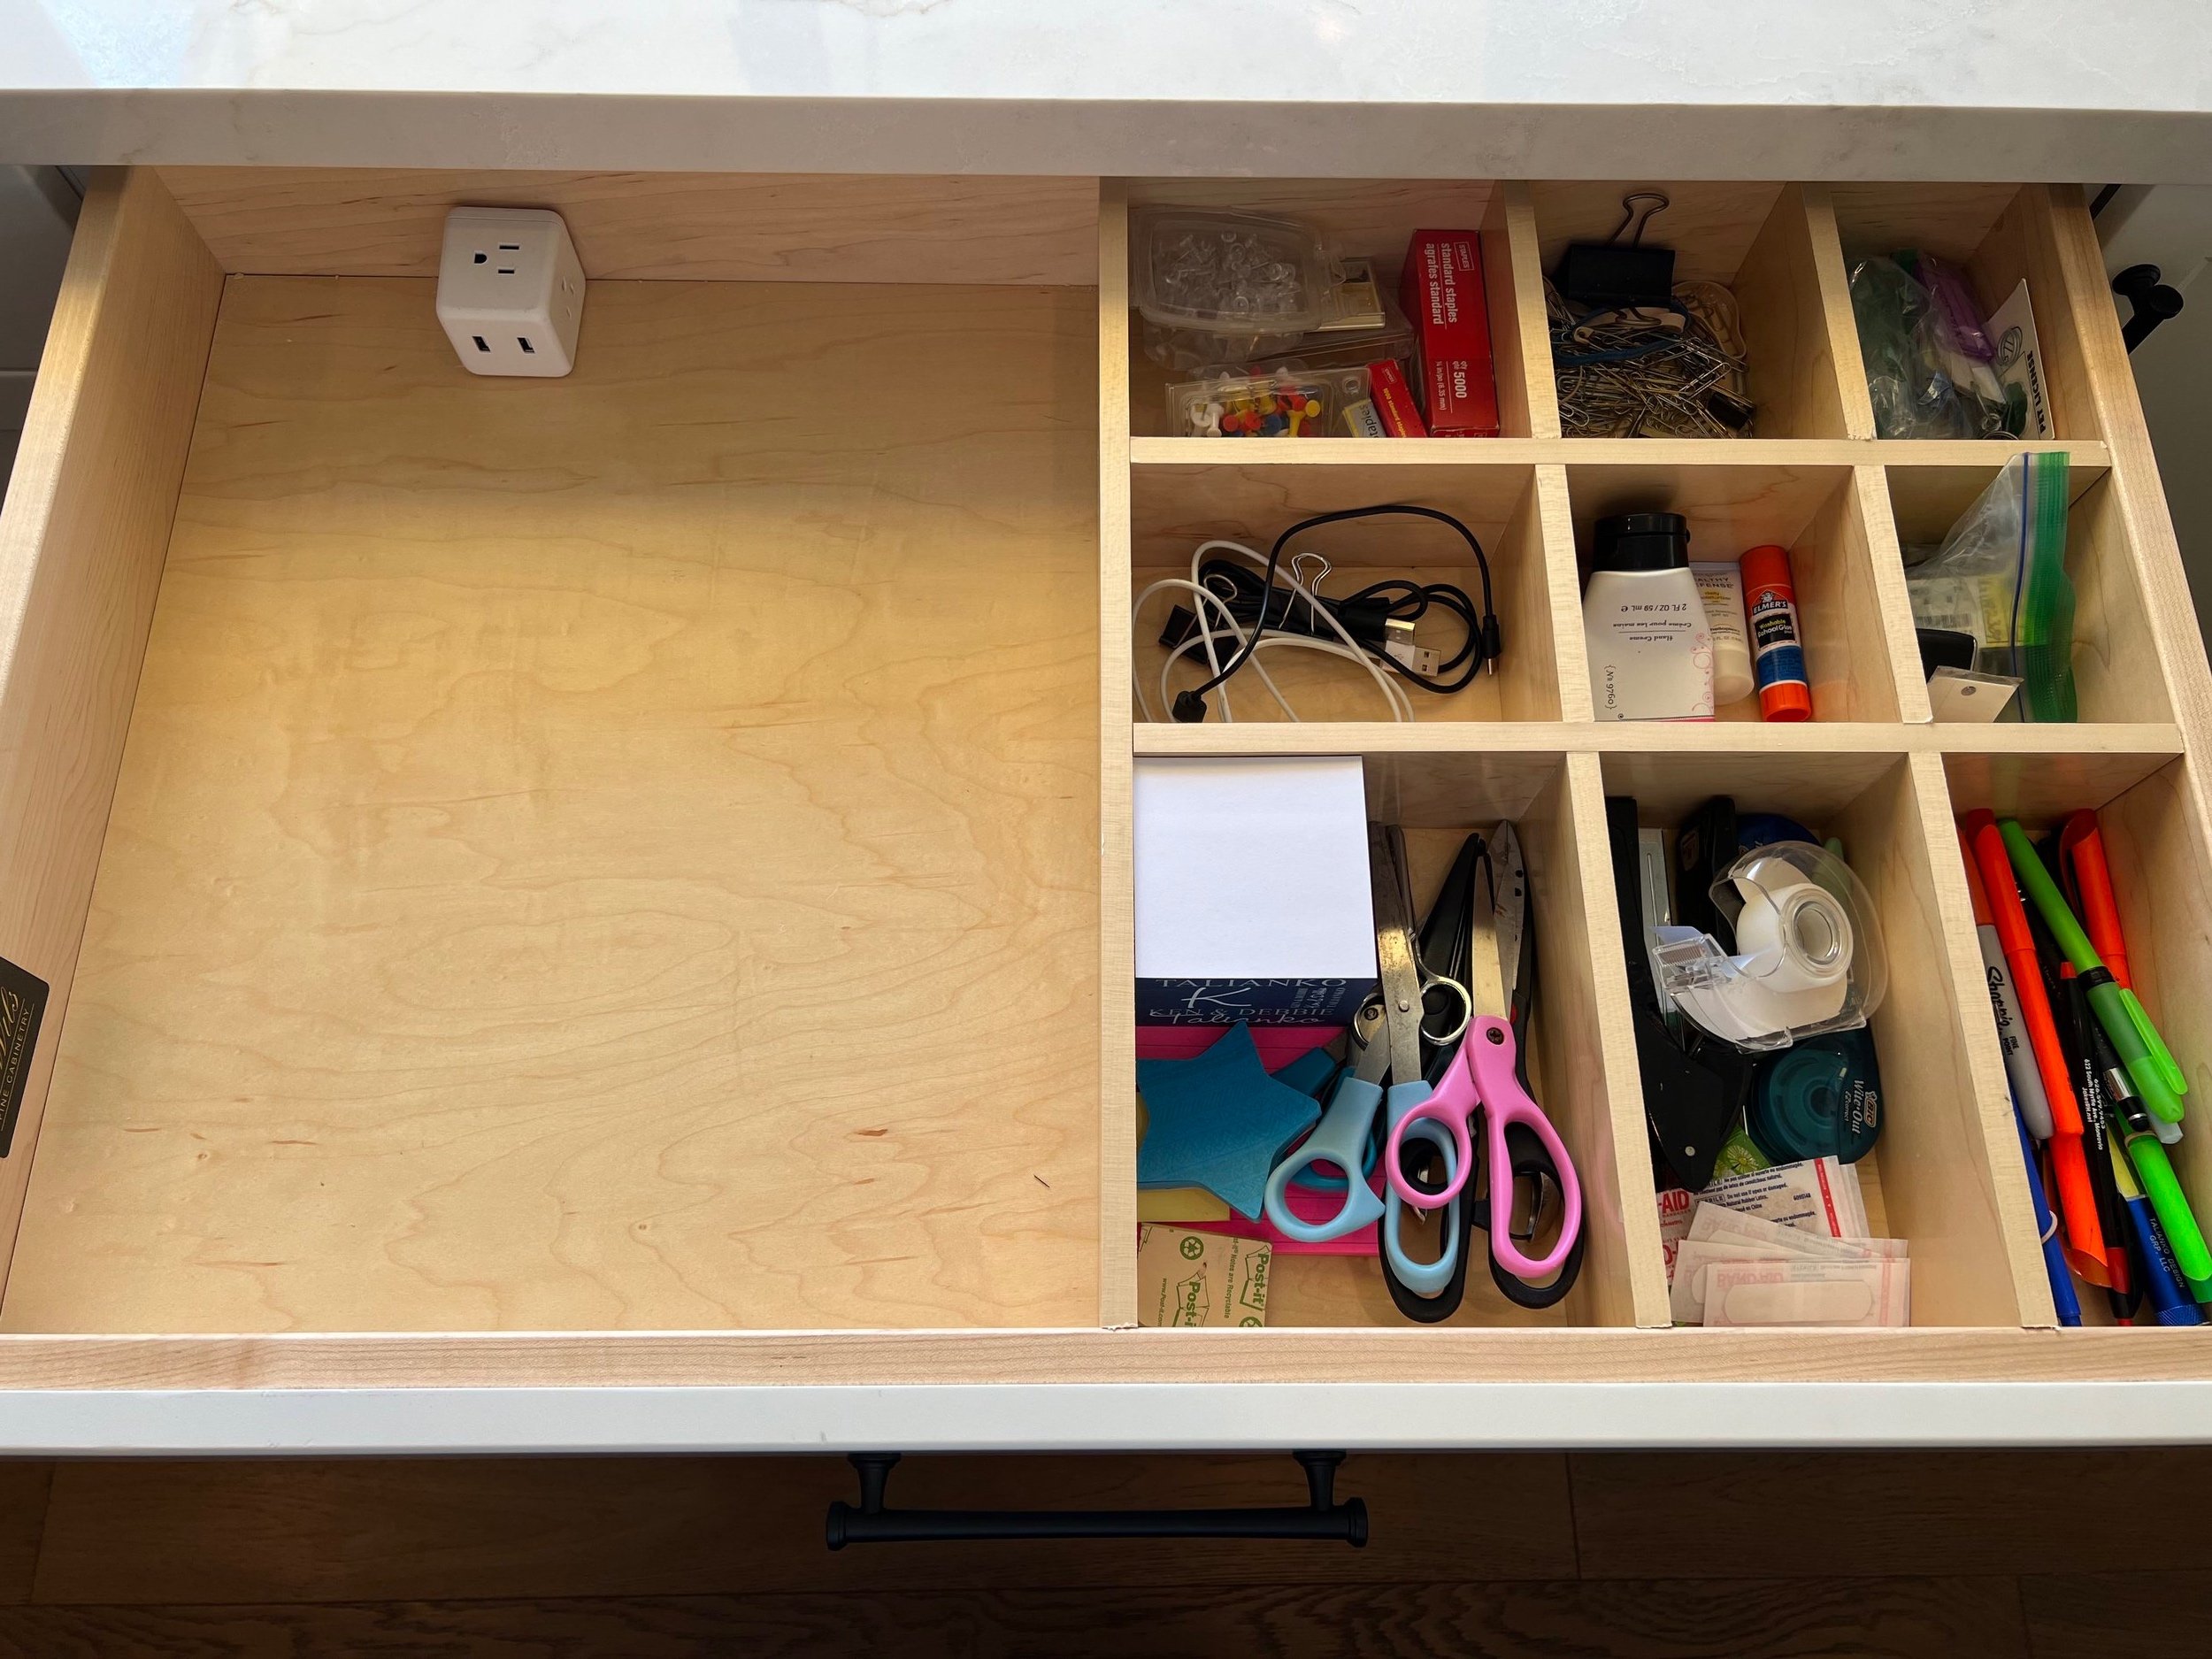
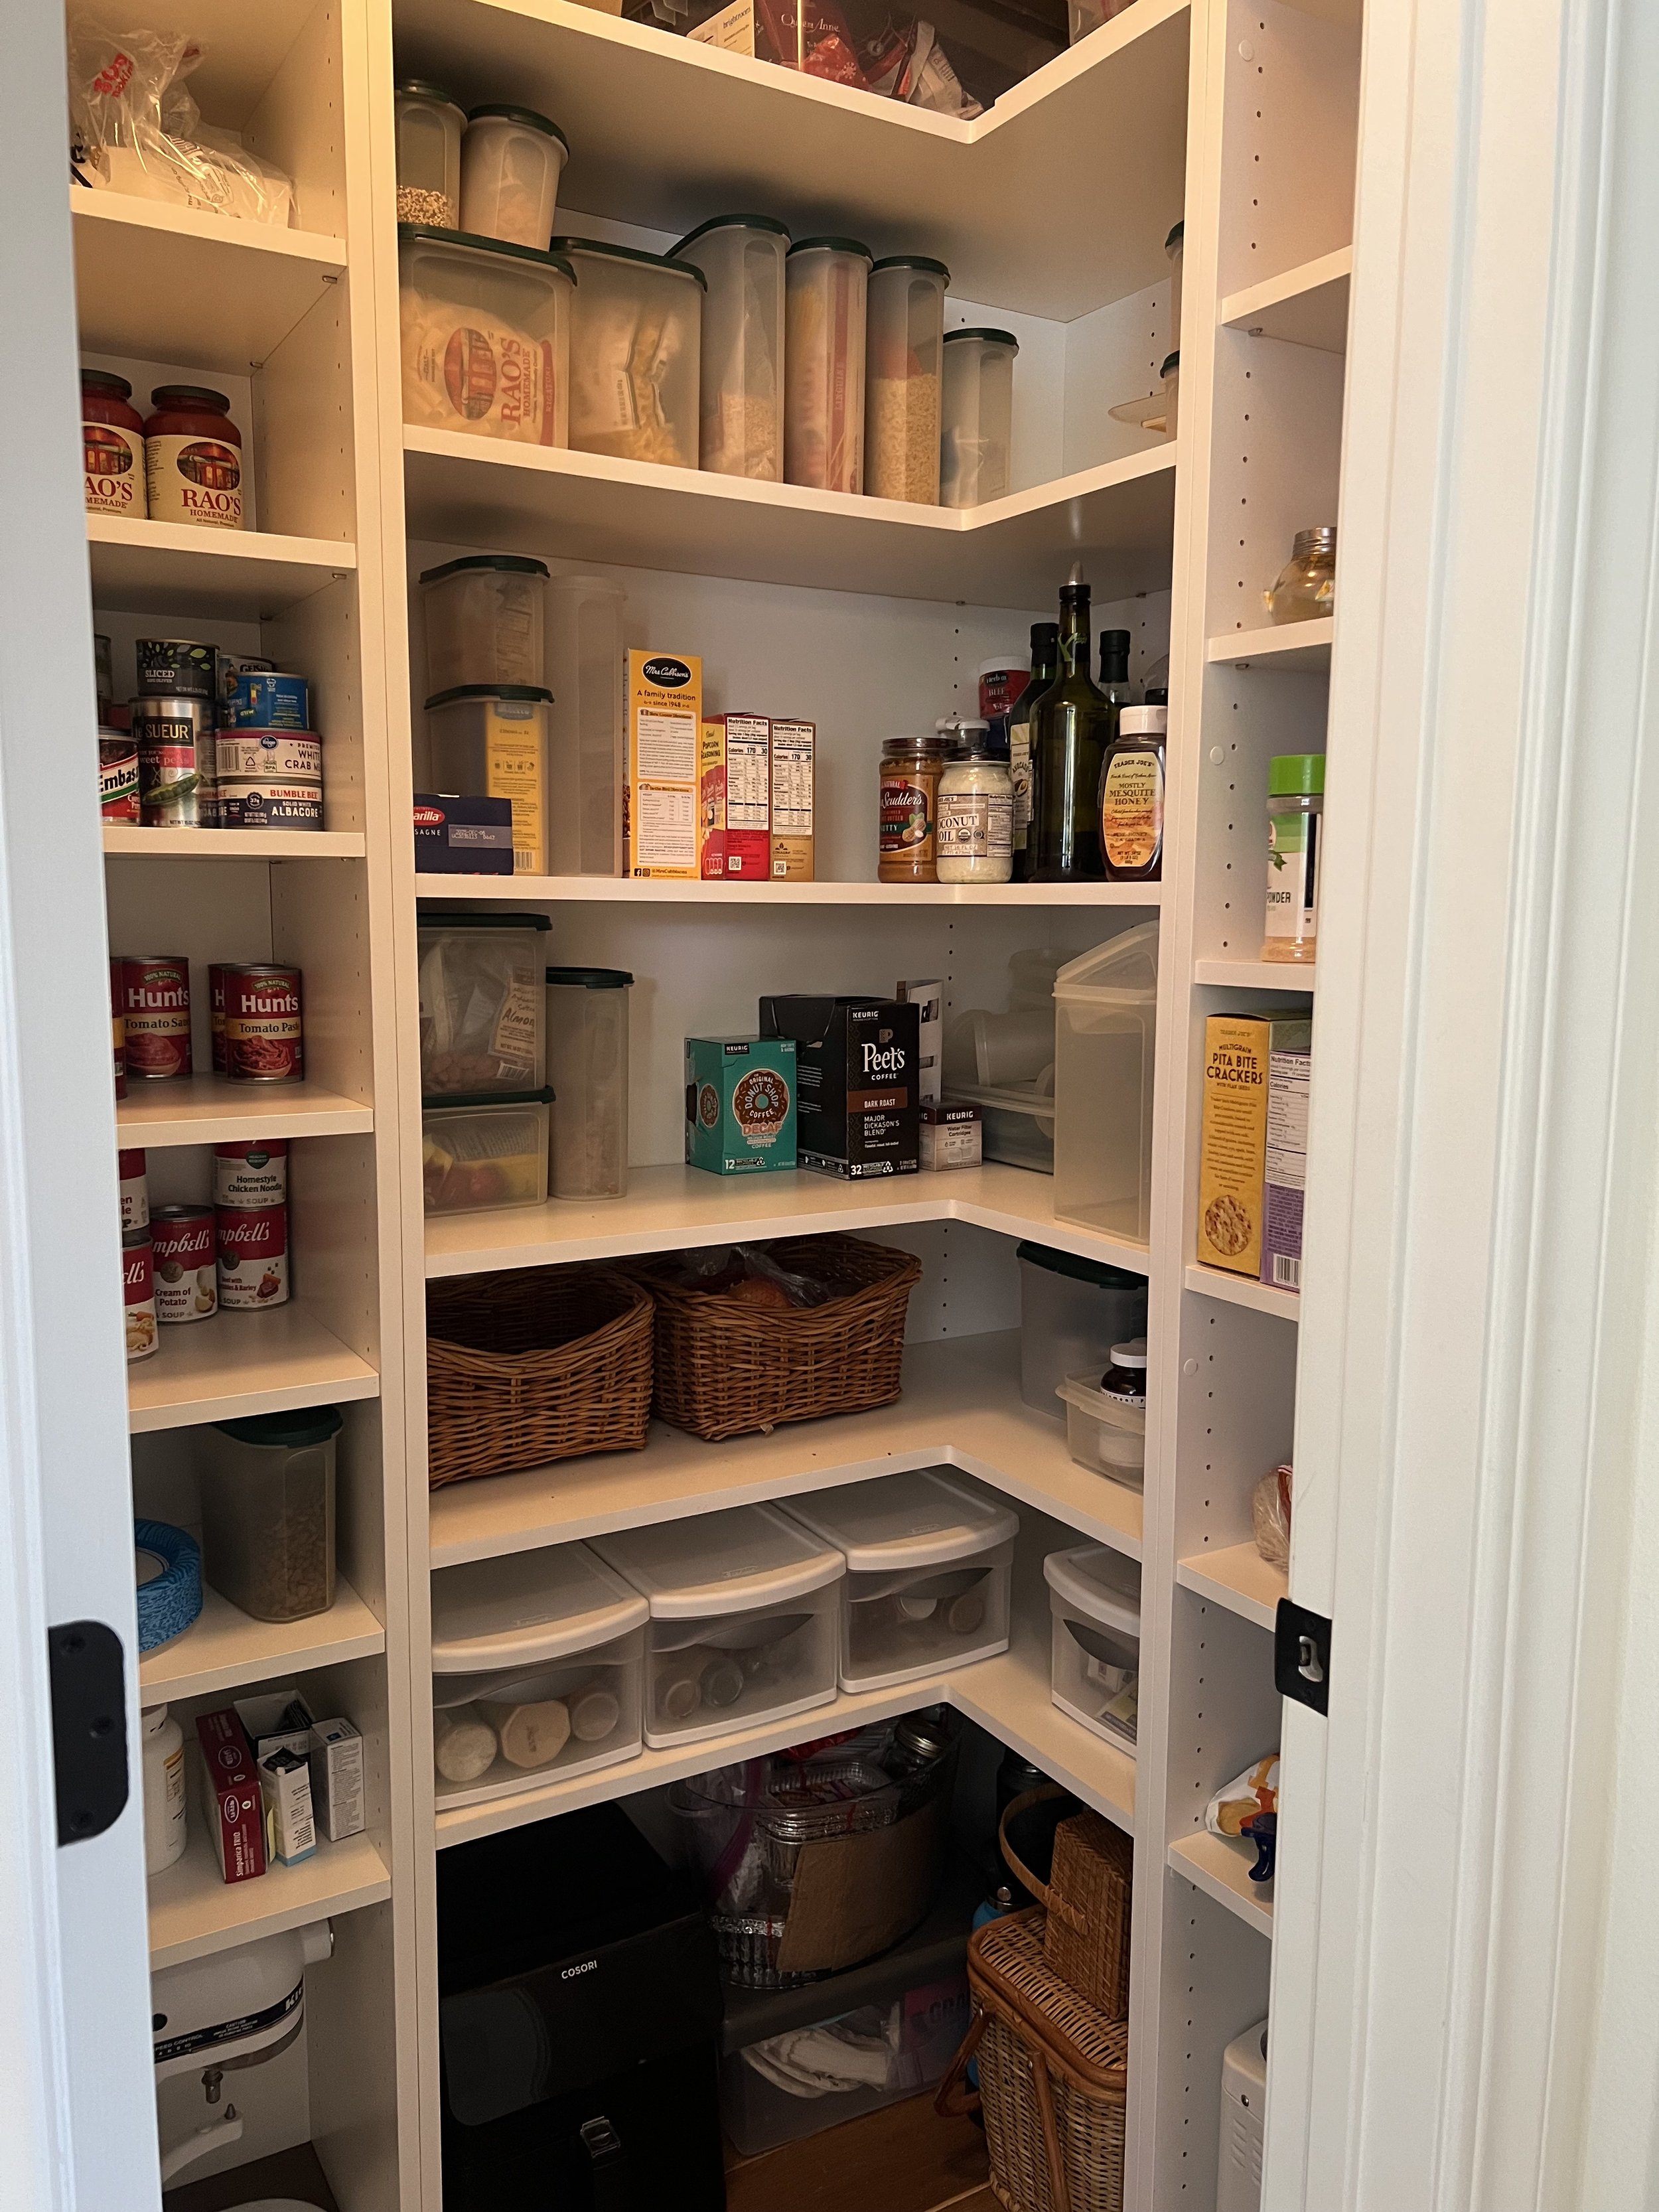
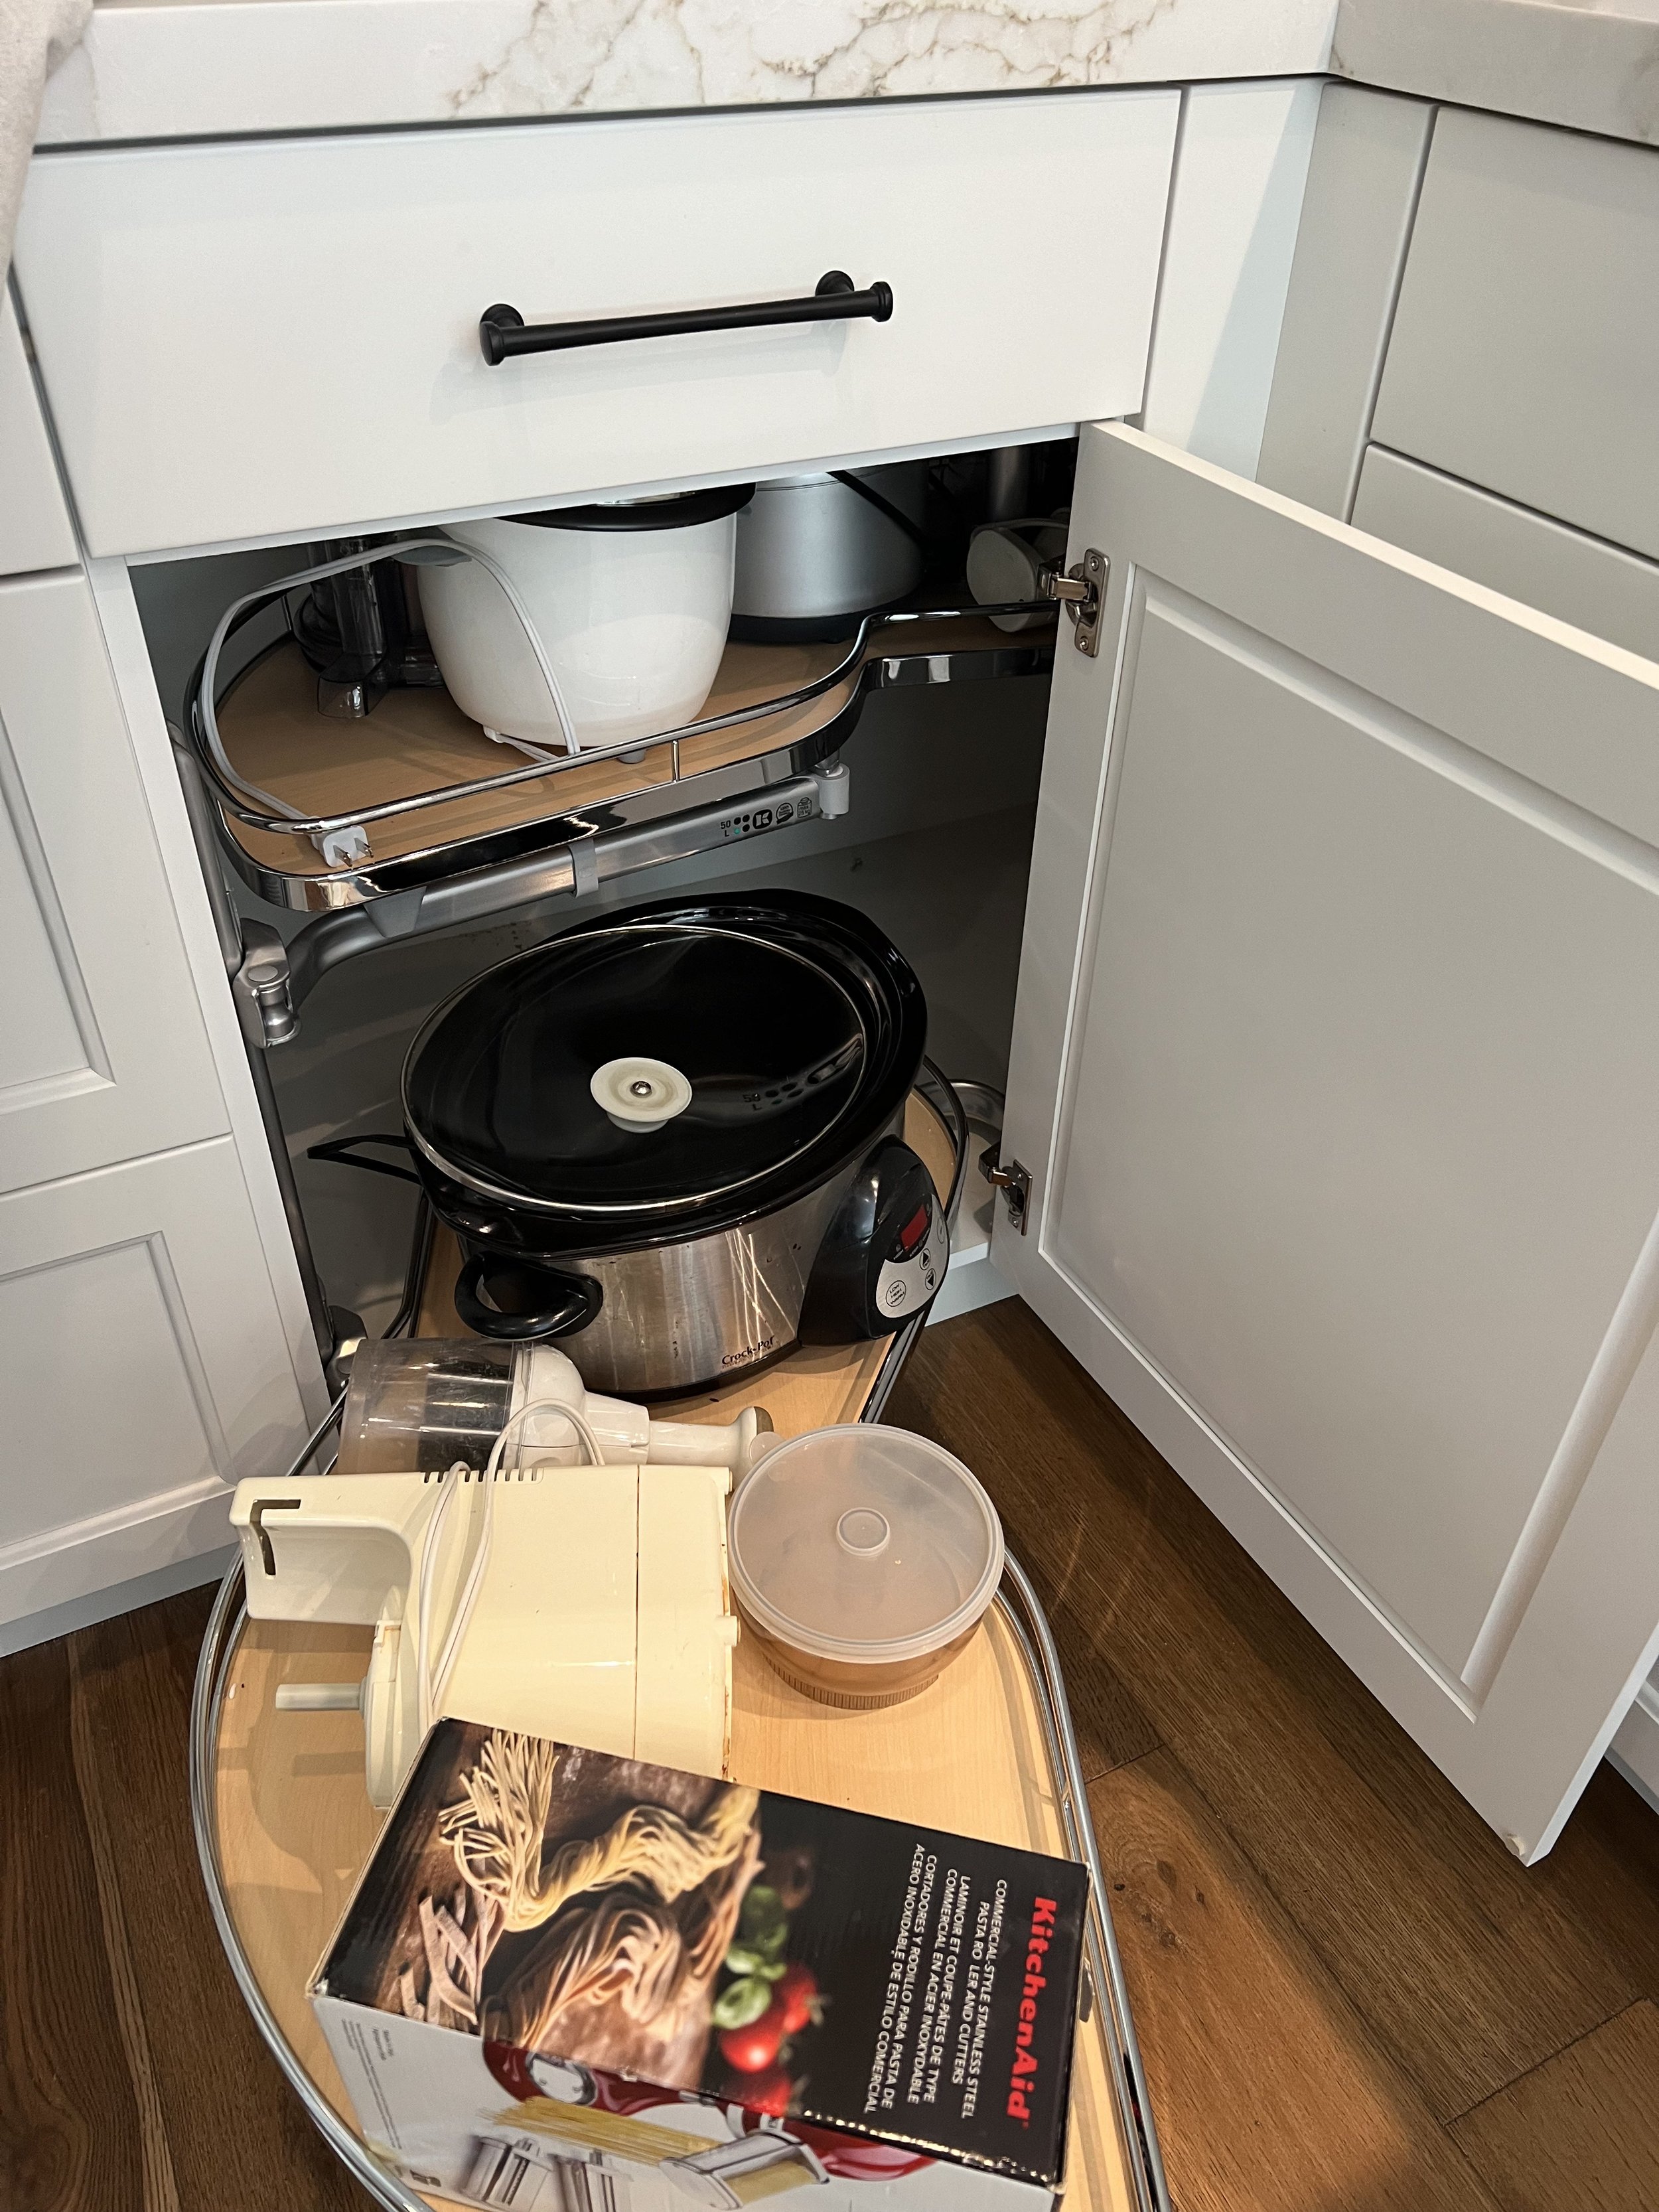
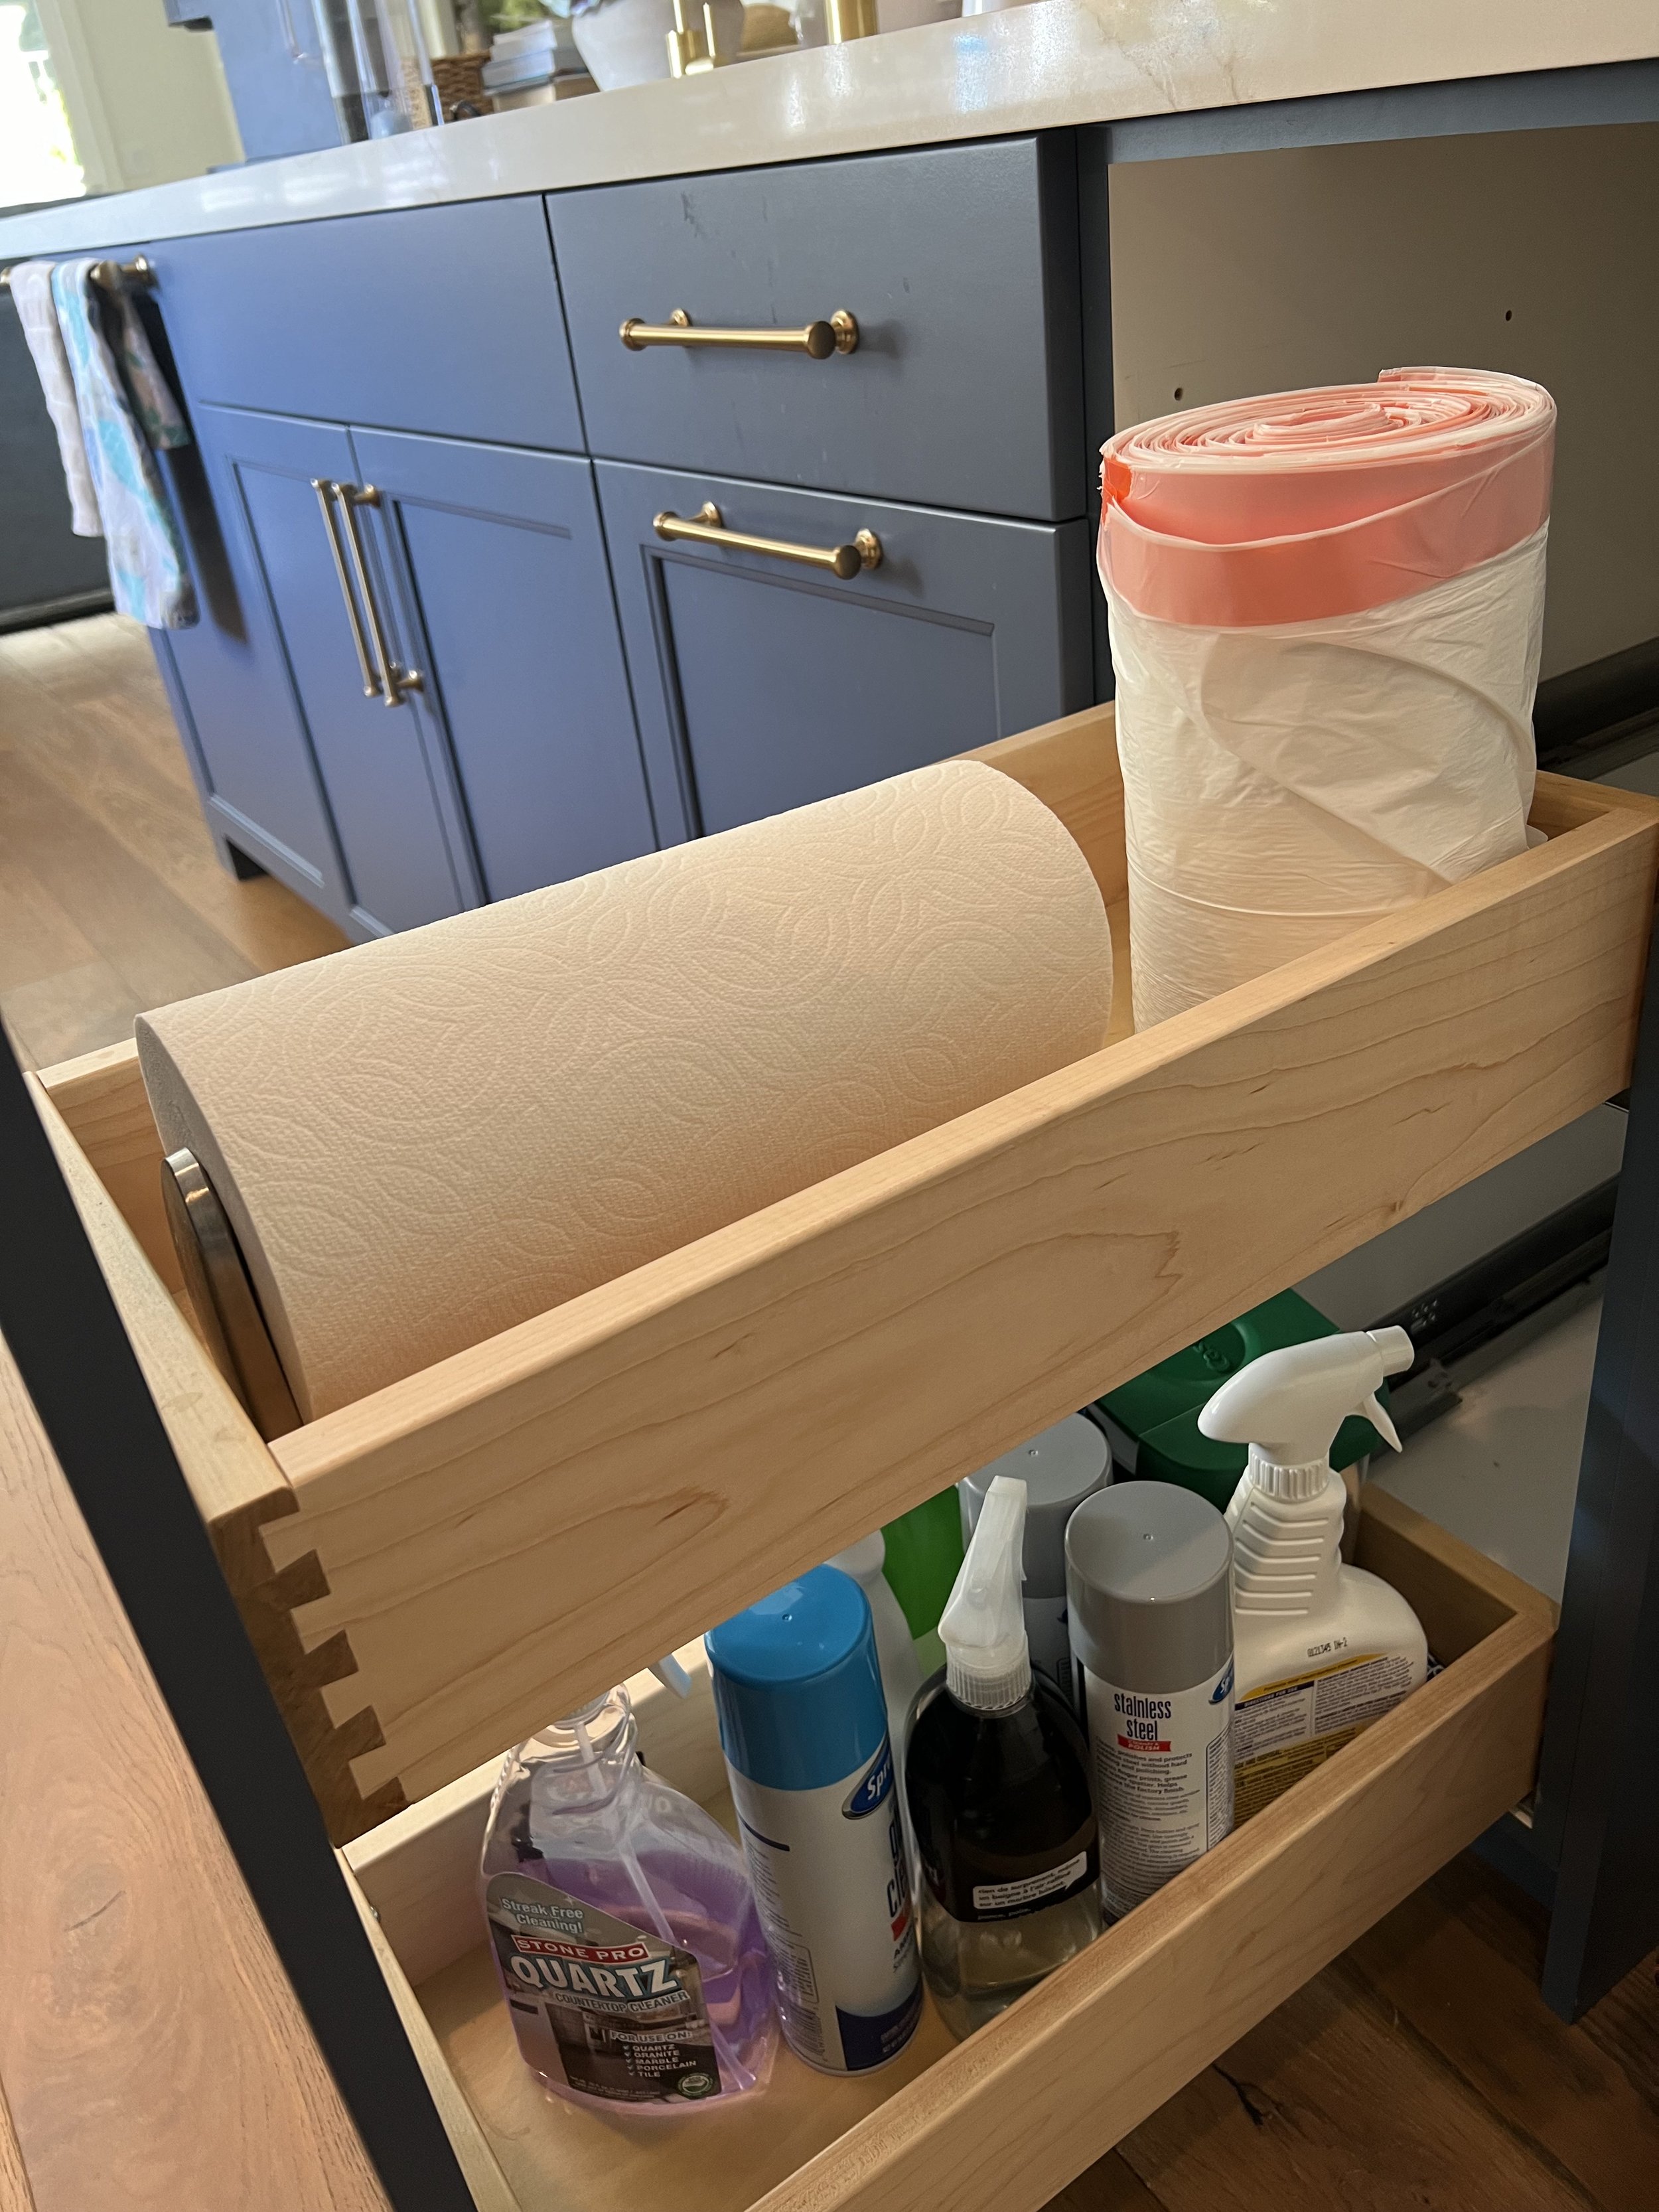
There are many nice features I should mention that have gone right! Here’s a quick slide show to give you some ideas...
Next up is my window treatments. Finally! The fun stuff. Here’s a picture of the room showing you the areas where I’ll need to apply them. There’s a kitchen window, the triple windows over the sofa and the sliding glass door to the patio.

For the sliding glass door, I’m planning to do a traverse track rod starting from the left corner and ending just over the right door casing. The reason for this placement is the fireplace hearth extension. The drapery will be what’s called a left-hand draw and will only cover about half the glass starting from the left side when fully open.

This will give us some softness to the room and also privacy at night while watching TV. And it will also ensure that when it “stacks back” off the glass, we won’t lose our view. I’ll share photos of the finished window treatments in a few weeks but here are the fabrics I’ve chosen.

From top left: Roman shade linen with embroidered stripe for kitchen and sofa windows. Gold hardware (rod and end caps) with the blue & green floral for sliding door drapery. The taupe swatch in the lower center is our ottoman.
Lower right corner: seat cushion for hearth extension (see below). This will not only provide additional seat but will soften the hard edges of the very long fireplace hearth extension.

Custom pillows and cushions can add up $$ quickly, so be sure to include enough in your budget if you plan to go this route. I will say, they are worth every penny because those details are what make a room. Here’s a past blog about why custom pillows cost more.
That’s it for today! Tune in next time when I can share the big reveal!
P.S. While you’re waiting, check out my Home Décor Planner over in the outlet for many more tips for planning your next project!
